|
Shape Builders are the exact same thing as Duplicators which allow the map-designer to duplicate objects many times, but are used for individual shapes sometimes as in this case.
|
|
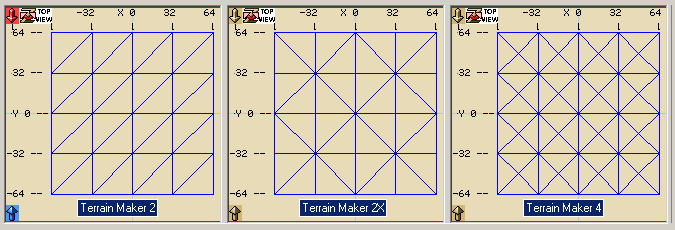
The first three buttons of the toolbar are the 'Terrain Shape Builders' buttons that are used to select witch pattern of terrain grid is to be used. Each button shows a simulation of what that particular pattern looks like for easy selection.
|

|
|
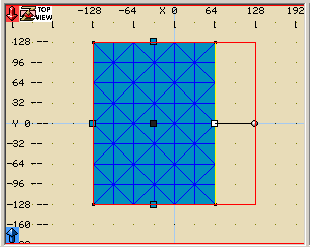
The next step is to size or pull the 'Terrain Shape Builders' to cover the area that is desired. This is done by clicking on one of its side handles and moving it to where you want while holding down the LMB. This can be done to any or all of its sides. The same goes for its thickness or height by pulling its top and bottom, or down face, handles.
A word a caution here! Because additional triangular polys are going to be created and their default unit setting is small (32 units per square section) at this time, too large of an area will dramatically slow down your computer. In fact, it can seem to even lock it up! But this is really not the case. If you elect to continue with a large area of small unit size polys, your computer will free up once it has completed calculating and drawing the polys in all of the editors views.
|
|
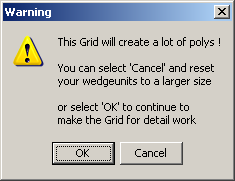
However, there is a built in warning that will appear when you cross this poly count threshold which will allow you to cancel the process and either reduce the area size or increase the unit setting for the grid and thus continue to cover the desired area.
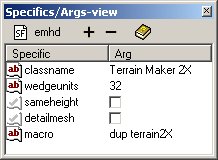
This is done by changing the wedgeunits to a larger setting using any amount you wish, so long as the game you are mapping for will support that size setting.
The sameheight setting, when checked, will preset all of the terrain polys so that the up and down faces will move togeather as covered in more detail on the Menu's page - Face Converters section.
The detailmesh setting, when checked, will cancel the warning feature covered above and is used when you wish to make large section of detailed terrain.
|
|
Once this process of resizing and making the setting changes has been completed, you are then ready to Dissociate, or brake apart, the 'Terrain Shape Builders'.
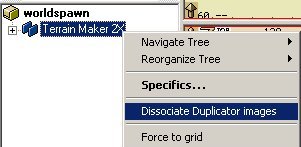
To do this, simply LMB click on the 'Terrain Shape Builders' icon in the Tree-view of the editor, then RMB click, to cause its popup menu to appear, and select Dissociate Duplicator images.
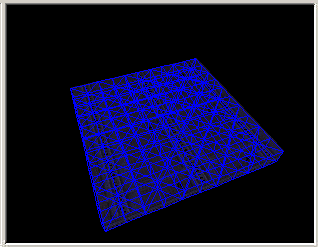
This function will create the individual triangular polys of the terrain grid and place them into a single folder for that particular Terrain Maker 2X session.
As you create other terrain sections, going through the same process, they too will be placed into their individual folders to keep them separate and well organized to work with later as your creation becomes more involved and detailed.
You are now ready to start creating the terrain through the use of the 'Shaping' process. But before you do, there are some other aspects as to the way that the 'Terrain Shape Builders' is setup that should be covered.
|
|
The theory behind its structure is not that of creating one large surface area for exterior scenes, but rather individual sections that will give a more realistic appearance while minimizing the effects of excessive poly count when it comes to the actual game playing. This is accomplished by using larger unit size areas for the basic surface and smaller unit size sections for more detailed areas.
This is one reason that each section of terrain created is placed in its own individual folder to give more control over its placement as a unit. Another nice feature is that any area of a terrain can have its folder frozen from being selected as new detail terrain is added and edited in the same areas.
In addition, other triangular wedges, even from imported terrains that have been converted, can be added or removed from any other editable terrain. The key to the entire process is the naming of the wedges to "terrain wedge". They need not even be in a terrain folder, but once again it does help to keep things organized for easer manipulations.
|
|