|
When selected, this will open a dialog box where you can choose a .bmp image file to place & display
in the 2D view that the cursor was in when the RMB was clicked.
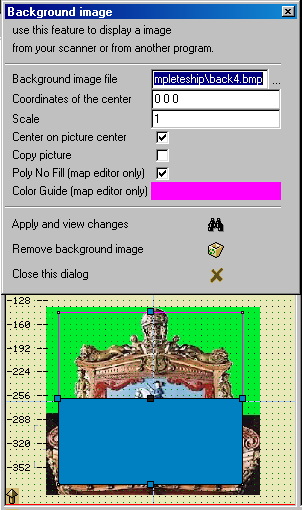
Background image file: When the '...' File selection button is clicked a 'Background image
file' window will open (shown further down) enabling you to easily browse and select the supported image file you
wish to use.
Coordinates of the center: The image will be centered at these coordinates in the 2D view that was
clicked on last. The default value is 0 0 0, or the center of the view grid. This can be changed to
position the image to exactly where you need it and it will remain at that same location as you zoom or pan in the view.
Scale: The size of the image can also be set to a proper scale that will fit your needs,
1 is its full image size.
Center on picture center: The center of the image will be used for its placement in the clicked view.
Copy picture: This will cause the image to be tiled, repeated, over the entire clicked view area.
Poly No Fill: As shown in the view shot to the right, a selected poly is normally filled solid with
a predefined color (lower part shown), in this case blue. However, when working with a background image, this will
block out the image making it very hard to work with. The 'Poly No Fill', when checked, removes this fill
color (upper part shown) allowing the image to be seen. This can also be changed in the
Map Options
configuration section.
Color Guide: When the 'Poly No Fill' option is used the selected polys outline shape only is drawn.
But because each image has a contrasting color that shows up better, the 'Color Guide' lets you select
the color that works best for you. This can also be changed in the
Map Colors configuration section.
Apply and view changes: This button 'activates' the above changes and selections, but it will
NOT close the dialog box, so you can see how the image appears in the 2D view and make any necessary
adjustments or select another image to use instead.
Remove background image: To remove a background image after you have finished with it, simply
RMB click in an unused section of the map select 'Background image' and then click this button.
Close this dialog: does exactly that. Any changes or selection that have not been activated by
the 'Apply and view changes' button above will not take effect and any currently set items will remain
in effect.
|
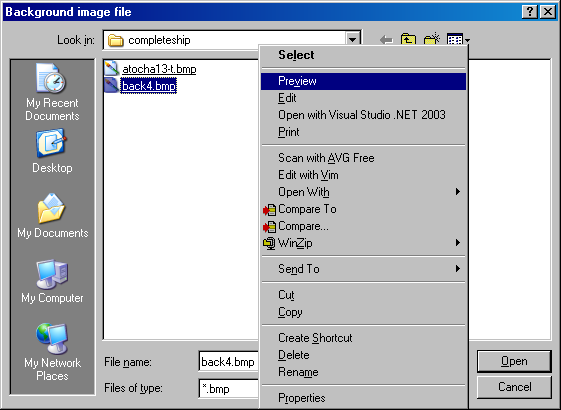
Background image file window: The image to the right shows the window that will pop-up when you
click on the 'Background image file' button '...' that was covered above earlier.
This will let you navigate to and select the .bmp image you wish to use. The menu that is shown here is
a standard system menu that can be used to 'Preview' an image before you actually select it for the editor.
You can also 'Rename', copy and even 'Delete' it if you wish.
These are very effective and time efficient functions and we encourage their use.
However, even though you have chosen a particular image, you still always have the option in the
'Background image' dialog to change or remove an image at any time as we have covered above.
|
|
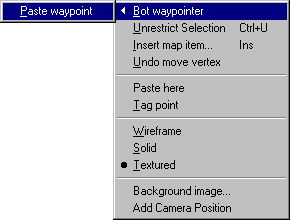 Bot Waypointer: This is used to set the paths and actions of game bots, or computer players
and is the first of this menus extended items. Detailed information on its use and capabilities can
be found in its
Bot Waypointer: This is used to set the paths and actions of game bots, or computer players
and is the first of this menus extended items. Detailed information on its use and capabilities can
be found in its 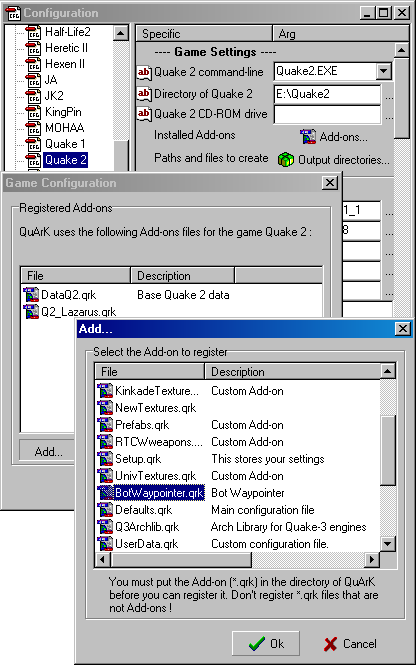 Although a more 'Game Specific' (Quake 2) function, this particular menu item will lead you to a very powerful
and useful tool that deals with the entering and handling of game bots.
Although a more 'Game Specific' (Quake 2) function, this particular menu item will lead you to a very powerful
and useful tool that deals with the entering and handling of game bots.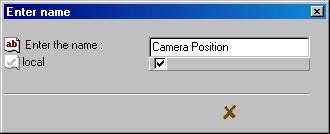 Add Camera Position: This item only appears on the